# Working with scan results
DefectDojo provides an opportunity to visualize the findings, process, track them, gather statistics, create reports, upload to Jira and many more.
In ScanSuite click on the **Product Name** to open results in DefectDojo:
It will redirect you to the DefectDojo instance. First time you will need to login to DefectDojo with provided credentials, consult Admin Manual to retrieve these.
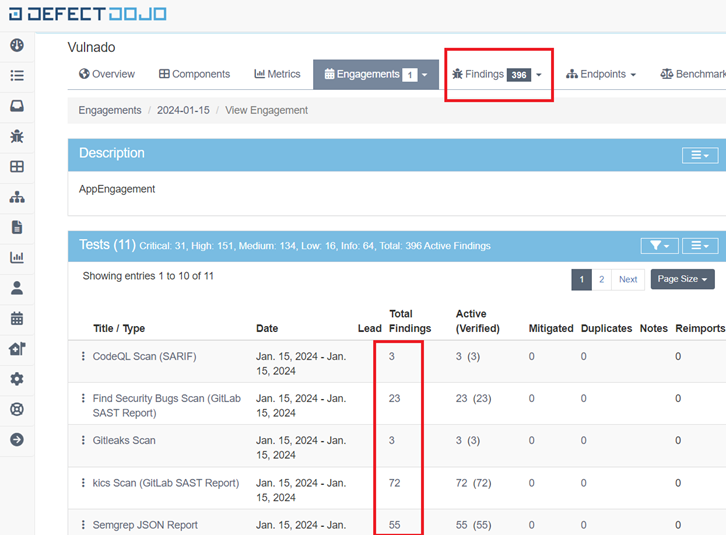
Once you have logged in, the Product -> Engagement view will be opened by the reference from ScanSuite so you do not need to search it within DefectDojo:
In this **Engagement** you will find all successful scan exports with possibilities to view the consolidated list of the findings or the ones which came from each individual scan.
Open the consolidated view:
Here are all findings with the testing related data:
By clicking on each finding check details of it. These usually vary depending on the scanner, but most provide the data such as the affected file, containing vulnerabilities, line number for SAST, URL for DAST and some details in the Description and Mitigation sections of the finding.
Findings could also be exported in the HTML or CSV views:

**HTML** report gives you all findings details in the nice and scrollable form. Sometimes it might be a preferred way to analyze the findings, rather than clicking on each one individually.
To learn more about Defect Dojo functionality, settings, and troubleshooting, refer to the original documentation at